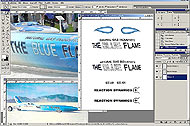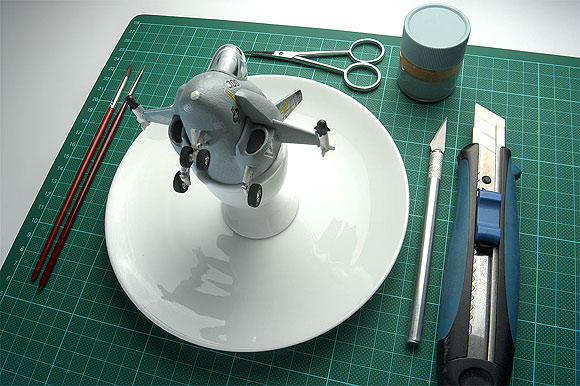
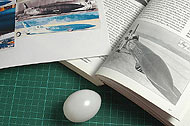
First of all you need to do a little investigation. Collect as much pictures as you can and try to find typical characteristics of the vehicle, which you can exaggerate in the model.
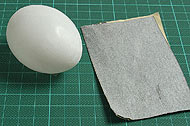
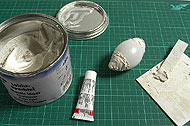
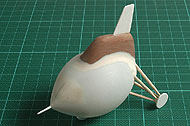
I used for the Blue Flame a prefabricated plastic egg. Sanding the surface with fine sandingpaper guarantees a better adhesion of the coming putty- and colour layers.
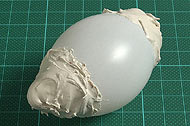
Just smear the putty happily on the plastic egg. You can cut the excess putty away afterwards. If you detect some valleys, just put a second layer of putty on top.
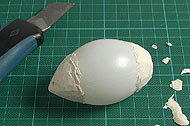
I'm using light putty (used for model airplanes) because it is not that hard to carve. Chipping away the putty, I reach a rough approximation of the final design.
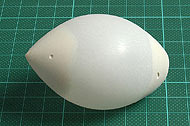
First I use a large grain sanding paper to finalize the design. In a second step I use a finer paper to get rid of the scratches.
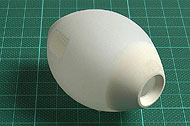
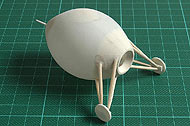
With the hobbyknife, sandpaper and repeating putty layers, I brought out the details like the engine nozzle.
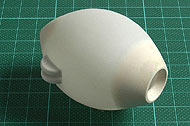
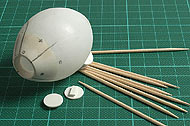
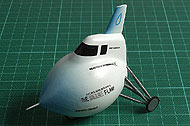
I cut the wheels from polystyrene (Europe: polystyrol) sheet plastic. Because I couldn't find any fitting modelkit wheels.
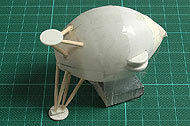
The toothpics and wheels are glued together and should rest for a while, until the glue cured completely.
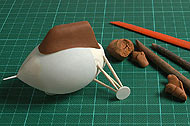
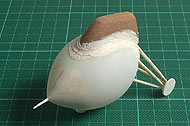
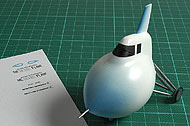
With modeling clay ( I used "FIMO", a PVC type modelling stuff, that hardens after 15 minutes baking in the oven), I sculpted the cockpit of the Blue Flame.
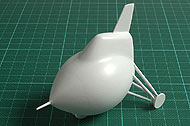
Spraypainted with white car enamel (I prefer that type, because it's fast drying and sticks to every surface), you can more easily evaluate the smoothness of the surface and probably sand down some prior undetected bumps.
© 2015 Milto Polykrates, 3013 Tullnerbach, Austria
